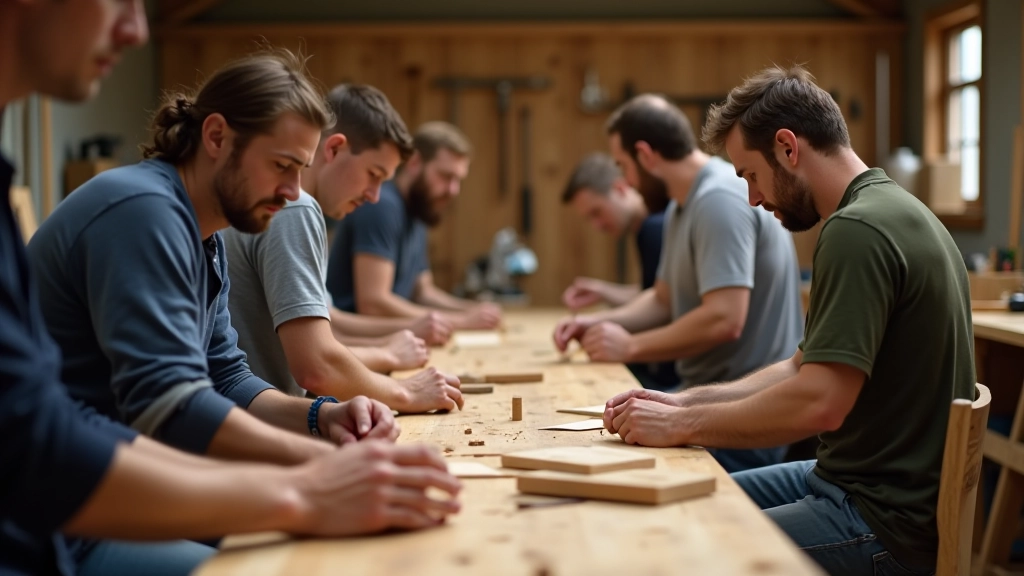

Setting Up Your Garden Shed Workshop
Transform a cramped garden shed into a functional woodworking space with smart layout planning, proper ventilation, and storage solutions that actually fit.

Getting Started with Limited Space
We're not all blessed with a sprawling garage or dedicated workshop space. Most hobby woodworkers in the UK are working with what they've got — and often that's a garden shed that's roughly 8ft by 10ft. It's tight, but it's doable.
The key isn't throwing money at fancy equipment. It's about clever planning. You'll need to think vertically, choose multipurpose tools, and arrange your space so you can actually move around. After helping dozens of people set up their first sheds, I've learned what works and what becomes expensive clutter.
Plan Before You Buy
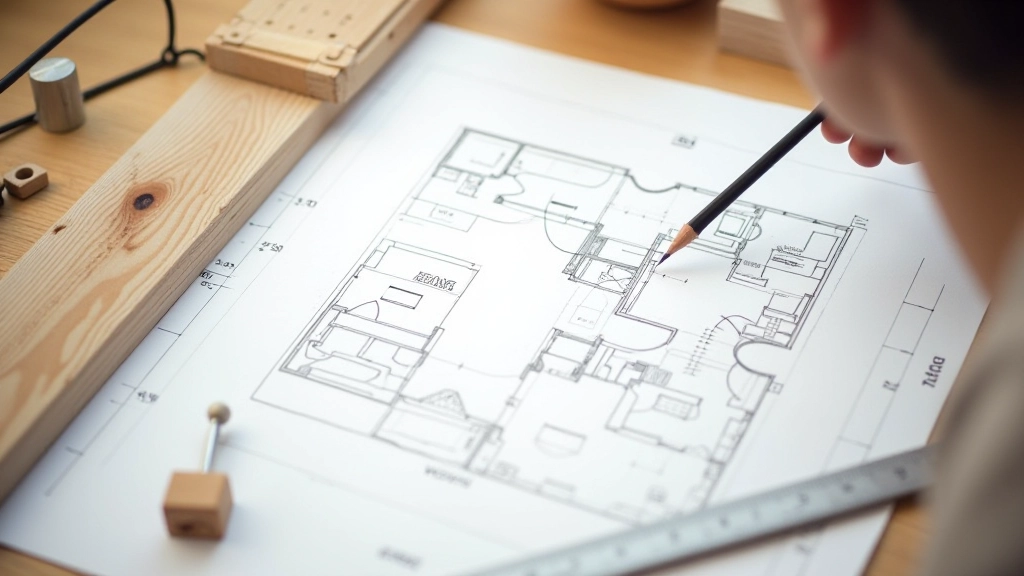
Sketch out your shed on paper first. Seriously. Measure the width, length, and height. Note where the door opens and if there's a window. You'll want your main workbench positioned where you get natural light — that's usually near the window.
Here's what most people get wrong: they cram the workbench into a corner to "save space." Then they can't access tools on the wall behind it, and they're always bumping into something when they turn around. Leave at least 3 feet of clearance on the sides of your workbench. You'll need to move around, pick up stock, and actually work.
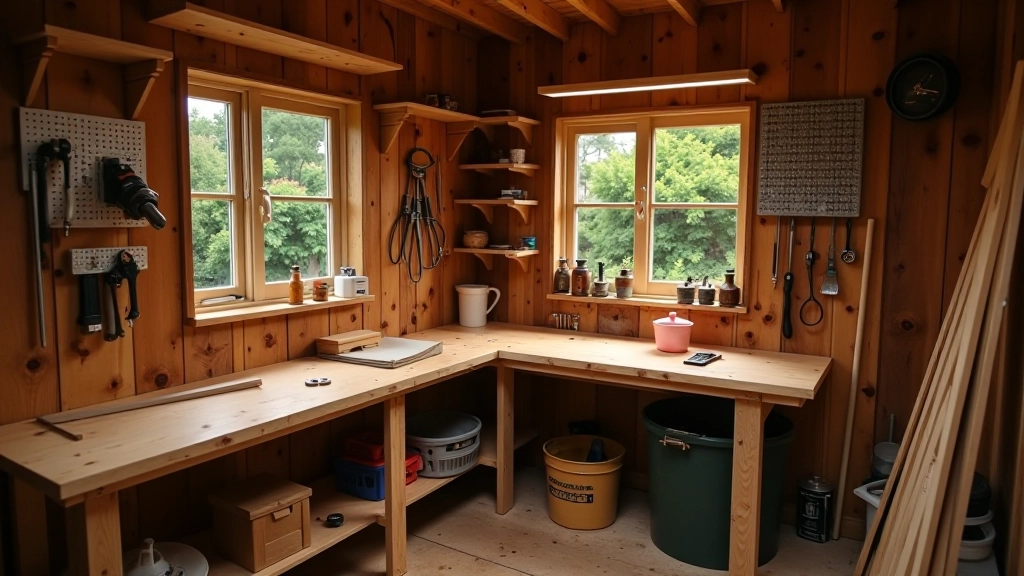
Divide your shed into zones. You'll have a work zone (the bench), a storage zone (walls and shelving), and a movement zone (clear floor space). Don't let these overlap. A typical 10ft by 8ft shed gives you room for a decent 4ft bench, wall storage on three sides, and a walkway down the middle.
Ventilation & Air Quality Matter More Than You Think
You'll be creating dust. Sawdust, sanding dust, finish mist if you're spraying. In a sealed shed, this stuff builds up fast and gets into your lungs. It's not pleasant, and it's not safe.
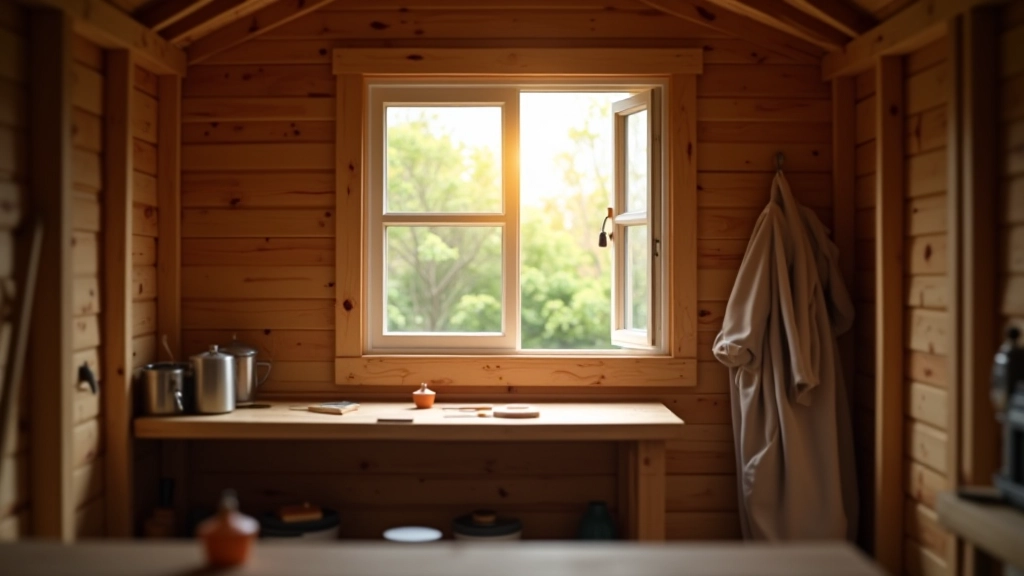
Install at least one window that opens. If you're building in summer, two windows is better. A simple 12-inch extractor fan mounted in the opposite wall pulls dust toward the fan and out. Cost? Around £40-60 for a decent one. Absolutely worth it.
Don't seal your shed completely. You need air movement. Even on cold days, crack a window or door slightly while you're working. And if you're doing any finishing work — staining, varnishing — ventilation becomes essential. You'll want a respirator mask too, but good airflow is the first defense.
Important Safety Note
This guide provides educational information about workshop setup. Always follow manufacturer instructions for tools and equipment. Ensure proper ventilation when working with finishes and adhesives. If you have health concerns related to dust or fumes, consult a healthcare professional. Check local building codes and permissions before making structural changes to your shed.
Get the Lighting Right
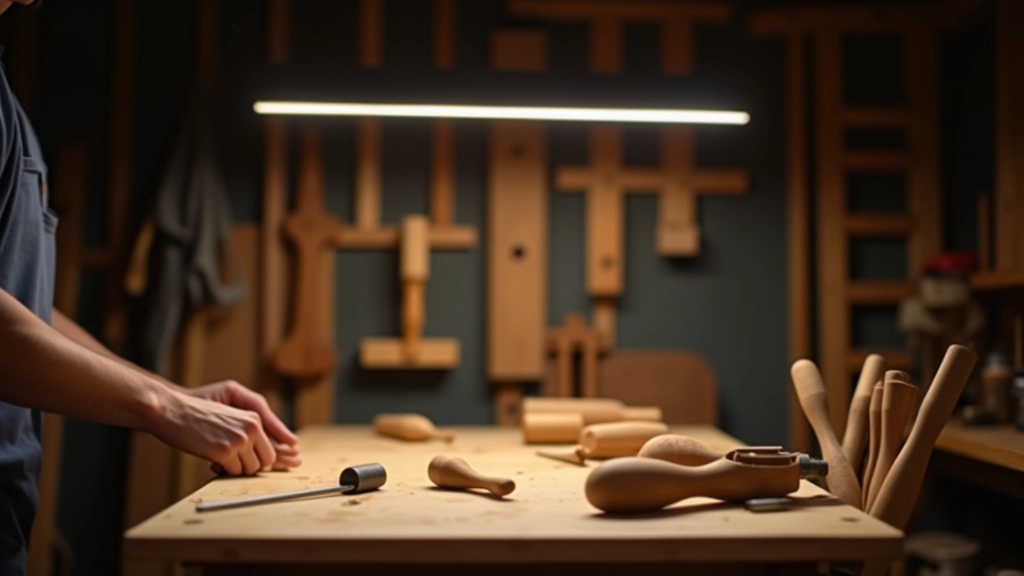
Natural light's great, but you'll be working in British weather — cloudy days, winter months, evenings. You need proper artificial lighting. LED strips are brilliant for this. They're cheap (£15-30 for good ones), they run cool, and they last forever.
Mount a pair of LED strips along the length of your workbench, about 18 inches above the surface. This gives you shadow-free light right where you need it. Add one more strip along the wall behind the bench for general shed lighting. Aim for around 500 lumens total — that's roughly equivalent to a decent incandescent bulb but spread across your whole work area.
A headlamp or clip-on task light is a good backup. When you're working on detail joints or checking grain direction, that extra focused light makes a real difference. And honestly, you'll use it more than you'd expect.
Storage: Vertical is Your Friend
Shelving runs up the walls. That's where your materials and tools live. Build or buy simple shelves — 18 inches deep is plenty for most hand tools and wood stock. Don't go fancy. Basic pine shelves on metal brackets from any hardware store work perfectly.
For hand tools, a pegboard wall is the classic solution and there's a reason: it works. You can see everything, grab what you need instantly, and it forces you to keep things organized. A 4ft by 8ft pegboard costs around £30-40 and will hold your chisels, planes, saws, and smaller hand tools easily.
Wood stock goes on low shelves or a dedicated rack. Keep it flat and organized by thickness or species. Scrap wood in a bin. Finishes and adhesives in a lockable cabinet away from moisture. The golden rule: everything has a home. If you can't find it quickly, you won't use it.

The Workbench is Everything
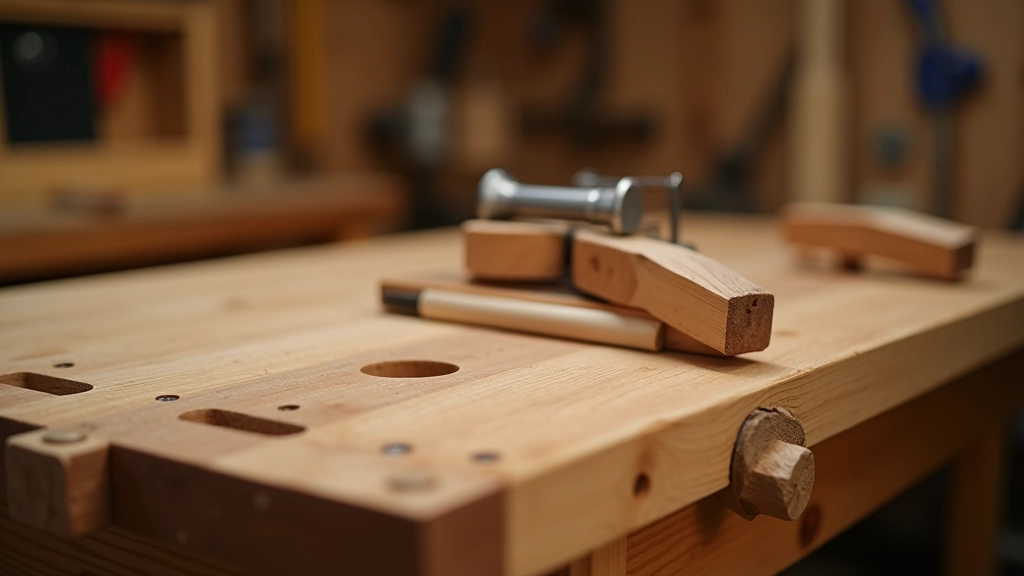
Your workbench is the heart of everything. It doesn't need to be complicated. A solid top — 1.5 inches thick hardwood like beech or oak — mounted on a sturdy frame works perfectly. Height should be around 34-36 inches (roughly elbow height). That's comfortable for hand work.
Mount a vise on one end. A simple woodworking vise costs £30-50 and holds your stock while you work. For a small shed, that's your main clamping solution. A couple of F-clamps and a hand vise supplement it, but the bench vise is essential.
You don't need to buy a fancy bench. Plenty of woodworkers build their own from 2x4s and a reclaimed door. I've seen brilliant workshops with benches that cost less than £60 to build. What matters is that it's solid, the height is right, and it doesn't move around when you're planing or chiseling.
Electricity & Safety
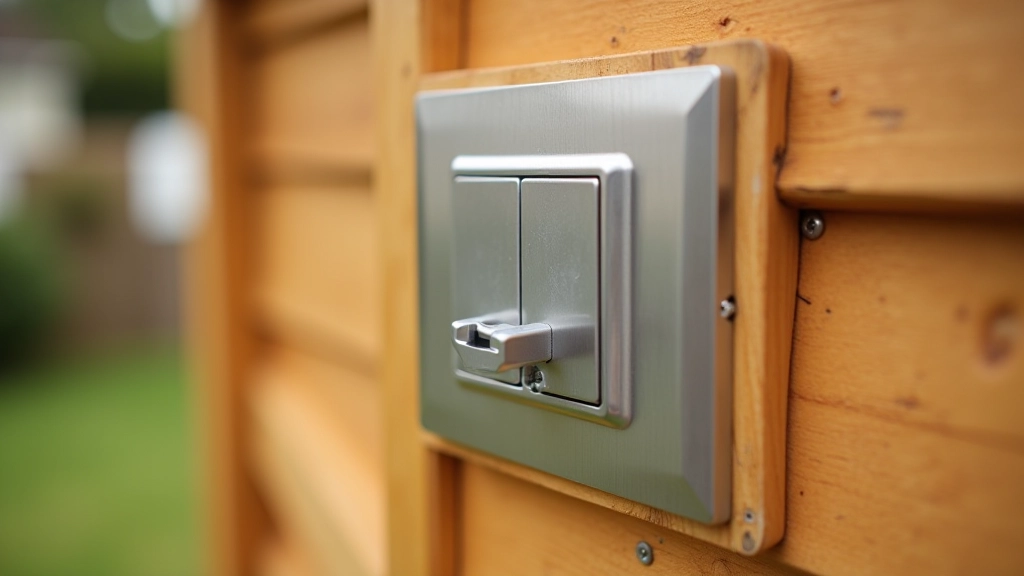
You'll need power for LED lights and eventually a power tool or two. Install a proper electrical circuit in your shed — don't just run extension cords from the house. It's not expensive. A qualified electrician can add a weatherproof socket or two for £100-200.
Use a residual current device (RCD) socket. It cuts power instantly if there's a fault, which is crucial in a damp garden environment. And keep power tools and cords away from moisture. Garden sheds get humid — that's just reality.
Keep extension cords tidy and off the floor where you might trip on them. Coil them properly and hang them on the wall. Sounds fussy, but workshop safety is about building good habits from day one.
Your Shed is Ready
A functional garden workshop doesn't require thousands of pounds or perfect conditions. You need good planning, decent lighting, proper ventilation, and organized storage. That's it. Everything else builds from there.
Start with the basics: a solid workbench, a vise, some shelving, and good light. As you work more and learn what you actually need, you'll add bits gradually. The shed you build yourself, with your own hands, is going to mean more to you than any off-the-shelf setup anyway.
Don't wait for perfect conditions. Build what you've got right now. Get started.
Continue Learning